|
UNIGINE Add-On Store offers a set of administering tools enabling you to register a publisher, manage account settings, and administer add-on managers. These tools are available for company admins only.
In case you're an individual developer (or a single representative of your company/project), you automatically become a company admin after logging in to Add-On Store (you are your company). Of course as an individual developer you won't be able to administer add-on managers (you are the one and only manager and administrator).
Start Publishing
To start publishing your (or your company's) add-ons to Add-On Store, you should first become a publisher. For that you need to click Start publishing at the top of the page.

After that, you will see a page with the provider agreement text. You should read it carefully and check the corresponding box below if you want to agree with it (A). Then click Accept to become a publisher.

If you don't agree with the provider agreement, click Decline. In this case you will not become a publisher.
After successful authorization as a publisher the Publisher workspace will become available.

You will also receive an email confirming that you (as an indie developer) or your company has become a publisher. This email provides you a list of useful links to resource manuals and contacts.

A company becomes a publisher only once.
Editing Publisher Info
If you are a company admin, this tab becomes available after you become a publisher. Here you should provide some information about your company. This information tells your customer about the author of the add-ons that he or she uses in projects, enables them to recognize your other add-ons, follow you on social media, or visit your website. In case you are an individual developer (or a single representative of your company/project), tell the world about your work.

Inside Publisher Info tab you can fill the following company description :
- Name of the company
- Company official email
- Company website URL
- All other contact details and links to social media (discord, twitter, youtube, linkedin, etc.)
- Description of the company history and activities
- Company avatar
- Pictures
- Company videos
You can edit all information above using related buttons and tools.
-
To edit description information click Edit Profile (1). Then you can change the information inside each element's field. To save all changes click Save (see a picture below).
You can't delete mandatory data from fields marked with asterisks * (Name or Email).

Edit form
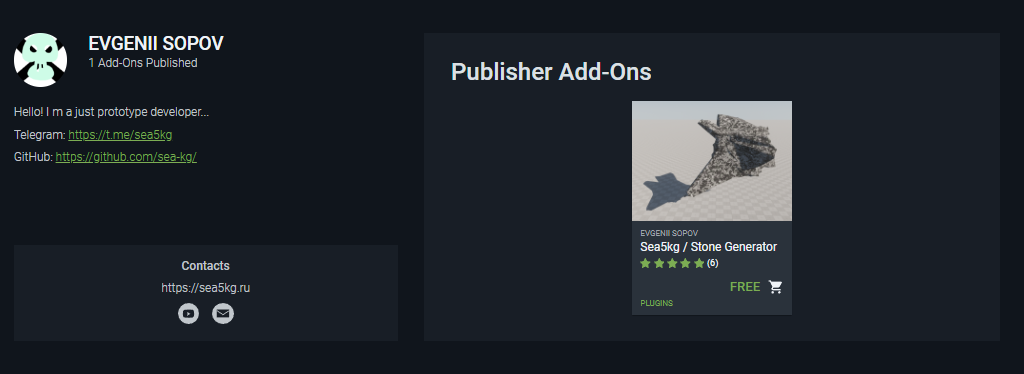
- To preview your page, click View Profile (2) on the Publisher Info tab. Your profile page provides a quick overview of your company. The page displays all the add-ons you have already published, along with your company information and the contact details you provided.
- To change the avatar of your company click Change avatar (3).
In File Explorer that opens, select a new avatar of your company and click Open.
-
To add a new image to the library of your company, click (+) in the pictures area (4).
In the pop-up window click +Add image (see a picture below).

In File Explorer that opens, find the desired image on your computer and select it. Then click Open (see a picture below).

The image will be displayed in the pop-up window. Click Upload and your image will be added to the image library of your company.

-
To add a new video (posted on Youtube or other hosting) to the library of your company, click (+) in the video area (4) .
Paste the video link to the link field. The widget video will be shown in the pop-up window. Click Add to add this video to the library of your company (see the picture below).

Pop-up window for a new video downloading
- To delete an image or video from the library click the cross icon for the corresponding element.

Publisher Page
Your publisher page will be available for all Add-On Store users. You can preview your page by clicking View Profile (2) on the Publisher Info tab. It has a brief information about your company (which you added above). The page contains all add-ons you have already published, along with your company information and the contact details you provided.
The Сontacts block also contains an icon  that can be used by Add-On Store users to send you private messages with their questions or suggestions. The first message from the user to the publisher is sent via the Add-On Store (users can't see your personal email address). But you will receive an email notifying of an incoming message from the Add-On Store. that can be used by Add-On Store users to send you private messages with their questions or suggestions. The first message from the user to the publisher is sent via the Add-On Store (users can't see your personal email address). But you will receive an email notifying of an incoming message from the Add-On Store.
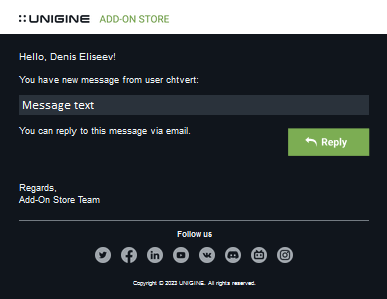
You can reply to a message by clicking Reply (in this case a new email form will open in your default email client application).
The reply message you send via your default email client will be sent directly to the sender's personal email address and your personal email address will be disclosed.
Administering Add-On Managers
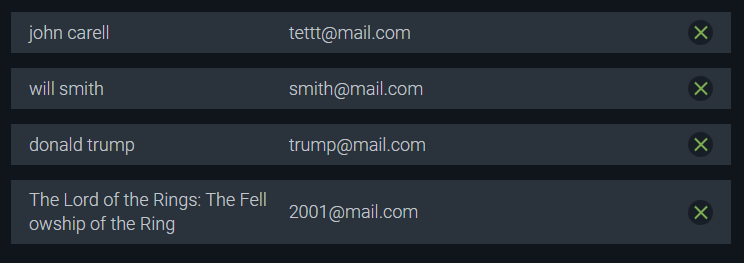
By default, a company admin doesn't submit add-ons for publishing, that's what add-on managers do. A company admin assigns the role of add-on manager to company members responsible for publishing add-ons to the Add-On Store. The list of existing add-on managers (their names and emails) is displayed and can be modified on the Add-On Managers tab. This tab becomes available when a company admin becomes a publisher. In case you are an individual developer (or a single representative of your company/project), you act as an add-on manager by default.
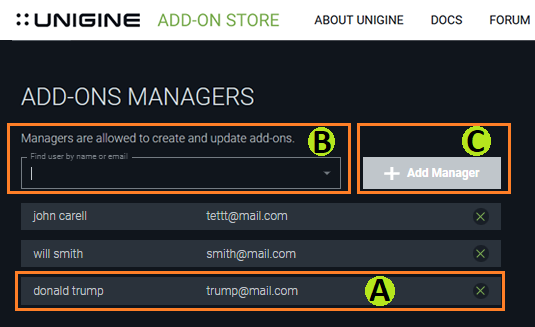
You can add a new manager from the list of company members by entering user name (or email) in the field (B) and selecting the appropriate one from the ones suggested in the dropdown box. Then click Add manager (C). The new add-on manager will be added to the list.
To delete a person from the list of existing add-on managers click  in the corresponding line. in the corresponding line.
Administering Dashboard
The Dashboard tab displays the publisher's earnings and allows withdrawing them. This tab is available for the company admin only. Users with this role can see all income-related data.

The Dashboard tab contains the following information:
- Total income. The amount of money that your customers have paid for the entire period. This amount includes both your revenue and UNIGINE payment commission.
- Available for withdrawal. The amount of money that is available for withdrawing to the publisher's credit card. This item includes a Withdraw button, which starts the withdrawal process.
- On hold. The amount of money that may be claimed by users as a refund within 2 weeks from payment.
- Total withdrawal. The amount which you have already withdrawn to your bank account recently.
- Total revenue. The amount of revenue for the entire period. It is calculated as total income minus total withdrawal.
- Net revenue lasts 30 days. The amount of money from orders, which have been done during the last 30 days (from the current date) and haven't been refunded yet.
- Net revenue last month. The amount of money from orders, completed during the current month (starting from the first day of the month) and haven't been refunded yet.
- Total refunds. The amount which has been successfully refunded.
- Refunds last 30 days. The total amount of refunds made during the last 30 days.
Check this section to learn more about the pricing approach. Money Withdrawal
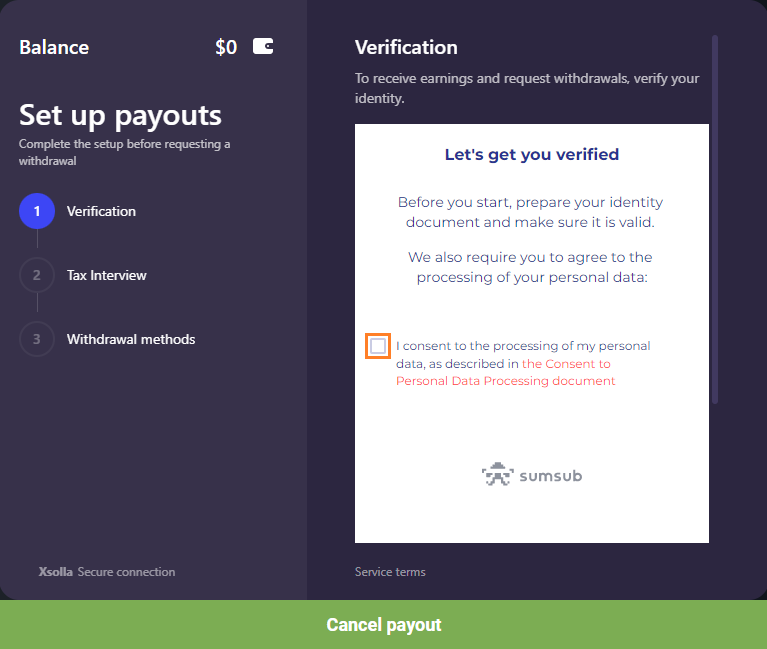
To withdraw the available money click Withdrawal within the corresponding block. The pop-up window of the payment system will appear. Here you should make several preparatory actions:
- To verify your identity: firstly, you should consent to the processing of your personal data.
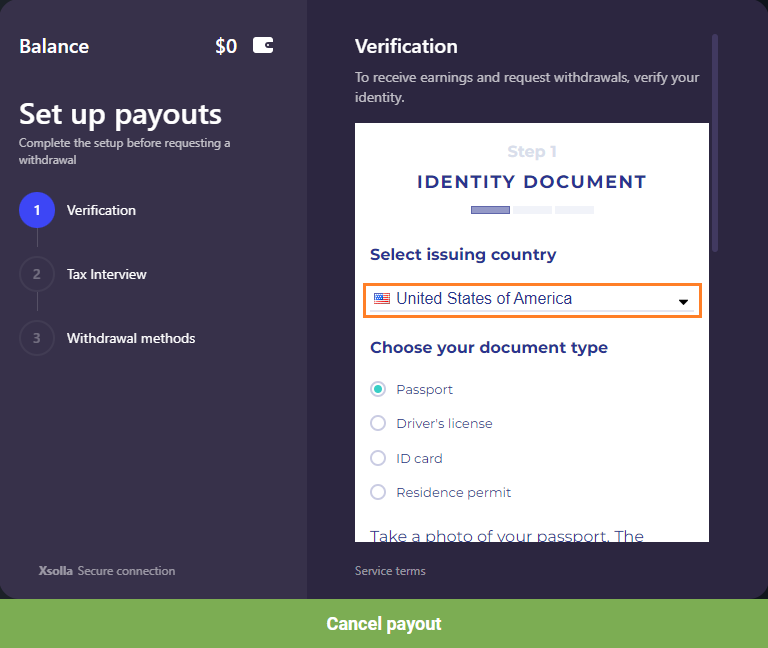
- Then, select your issuing country and personal document type.
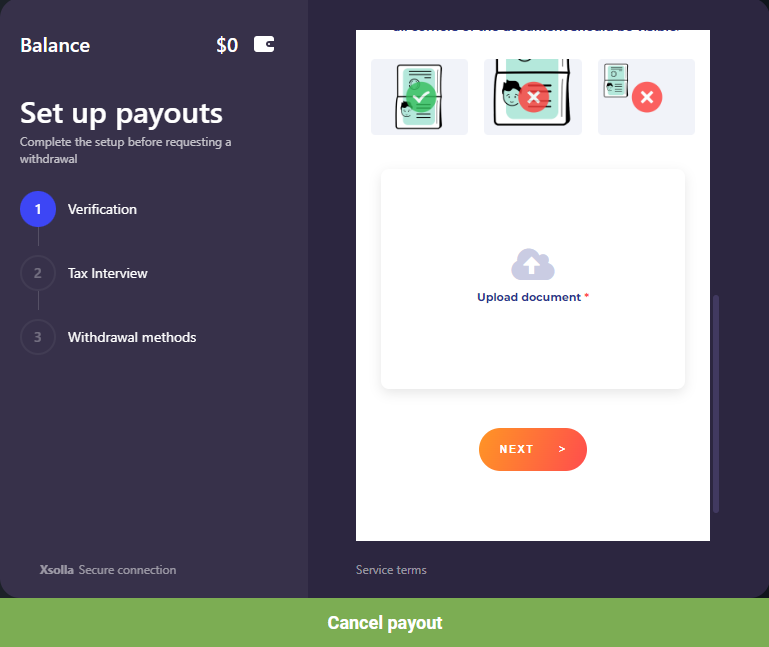
- Upload your identity document (it can be a photo or pdf file of your passport / ID card / driver's license / etc. which you have already chosen in this step recently).
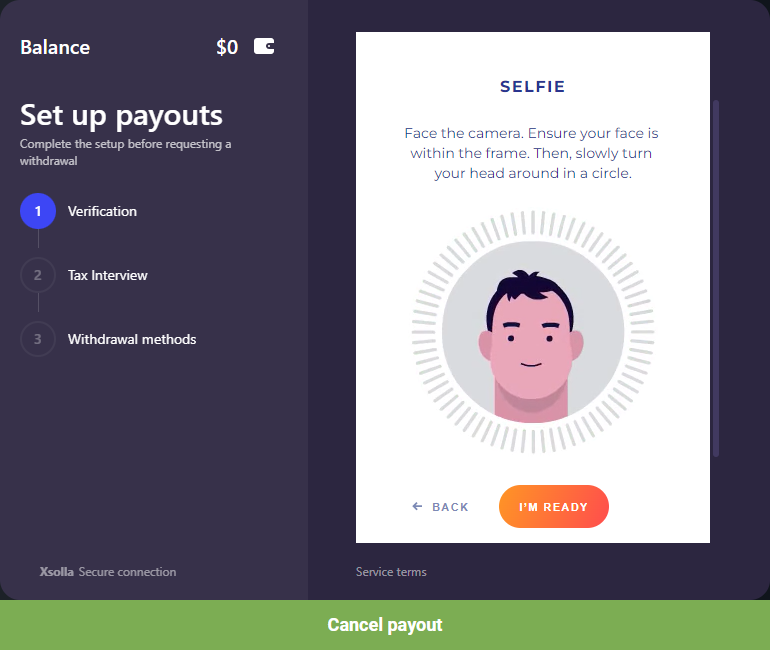
- At the next step you should verify your identity by taking a selfie. Just agree with using the webcam by this site and face the camera, click I'm ready. You should turn your face around the circle until the system captures your appearance.
- Then fill the applicant form with your contact data (telephone, email, address).
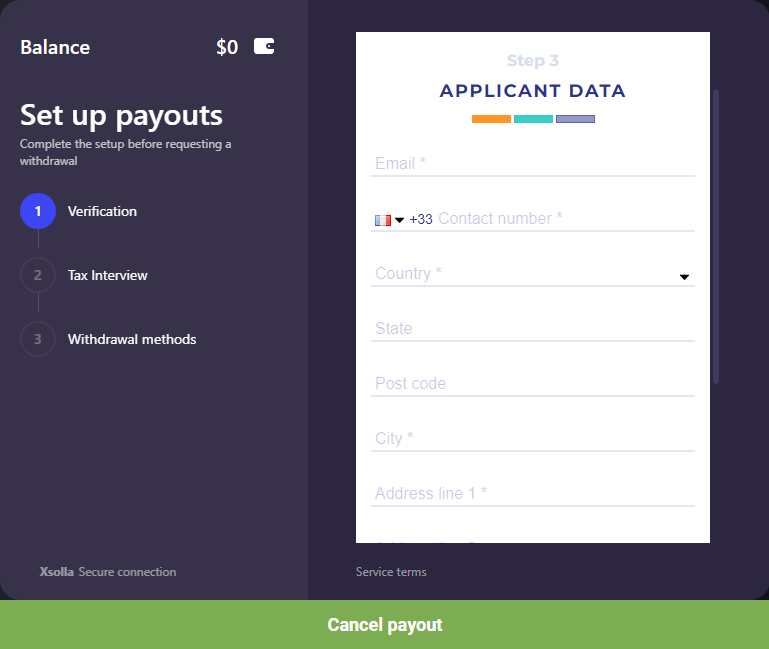
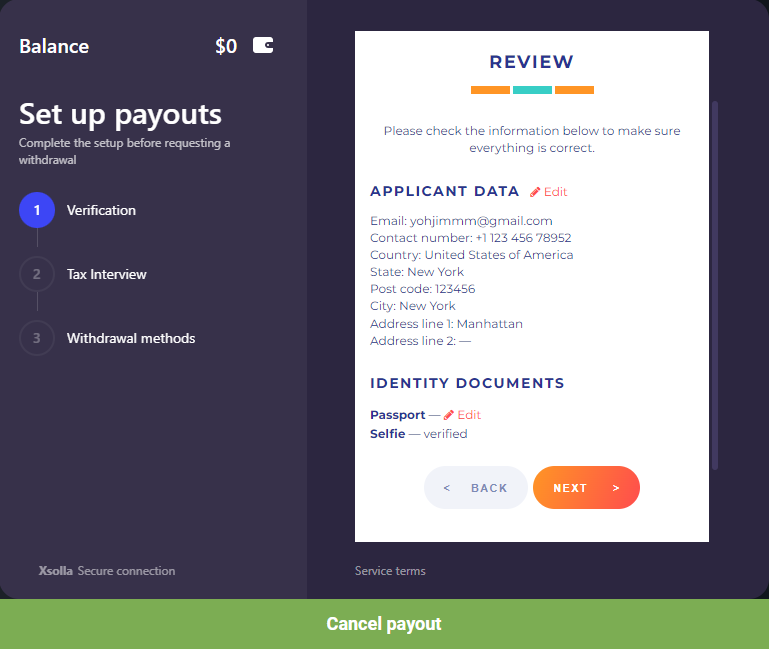
- Check all information you have already entered and click Next to end the verification step.
Your identity is verified only for the first withdrawal request.
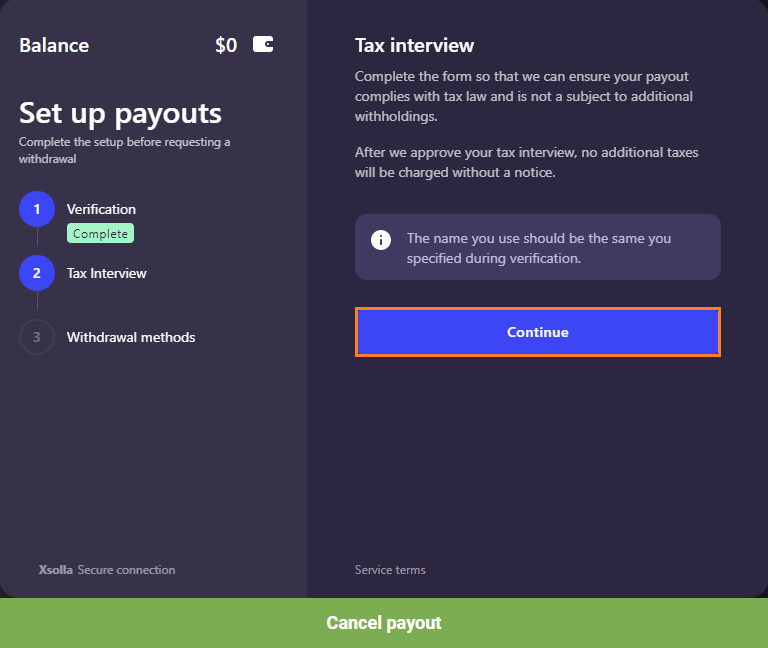
- Then you should go through a tax interview. Click Continue to open and fill a tax form.
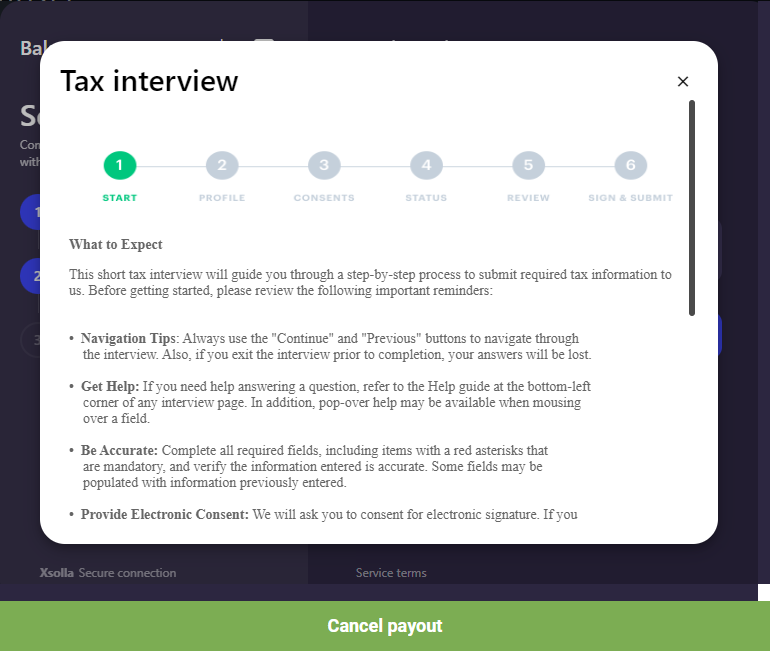
- Fill and confirm your details: individual profile (identity information of your company), consents, status, review of filled data and submitting of everything.
You can update a tax interview as many times as you need, if you need to change some of your personal (or company) information.
- Good job! Now you can receive the earnings on your credit card or choose another method of withdrawal in the pop-up window. Select the amount of money (in $) that will be paid out and click Continue.
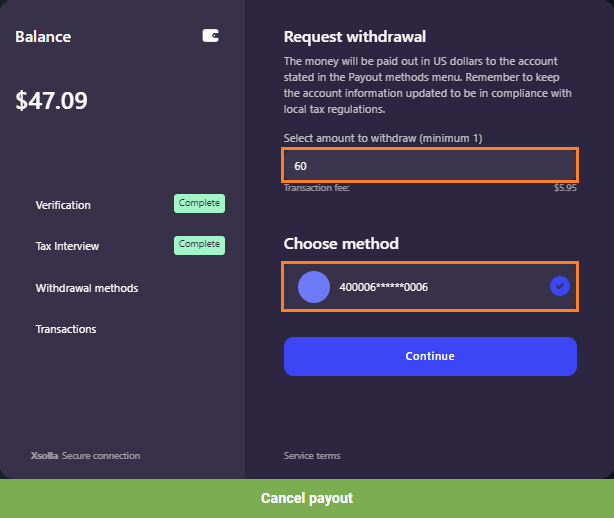
Your earnings amount will be lower than the initial withdrawal sum due to commission for withdrawal. It is usually 3-7%from the withdrawal sum and depends just on your bank's fee.
Viewing Add-Ons Order List
This is a tab with a list of add-ons which have been ordered recently. Here you can analyze which of the add-ons are more popular among your customers, how many times each add-on was purchased and under which marketing campaign the order was created. Each add-on box contains information about the customer, date and time of the order and its order status. Each add-ons order has its own cost calculated with a discount.

You can sort or filter the list of the add-ons using the following tools:
- Sorting. You can sort the list of ordered add-ons by its title or date of order creation. It can be useful if you want to analyze the performance of a marketing campaign you have already provided. Or you can analyze sales performance of a particular add-on.
- Search by name. You can use this box to find sales information connected with a particular add-on among the whole collection.
- Filter by add-on status. You can filter the whole list of add-ons by its status to analyze which of them are refunded more often.

To view a full description of an add-on, click its title to open the add-on page.
|